Lincoln Aviator: Information and Entertainment System - General Information / Removal and Installation - Cellular Antenna Cable
Removal
NOTE: Removal steps in this procedure may contain installation details.
All vehicles
-
Lower the headliner.
Refer to: Headliner - Lowering (501-05 Interior Trim and Ornamentation, Removal and Installation).
-
Remove the LH loadspace trim panel.
Refer to: Loadspace Trim Panel (501-05 Interior Trim and Ornamentation, Removal and Installation).
Vehicles not equipped with Harmon® audio systems
-
Position the subwoofer assembly to access rear connectors.
-
Remove the nut and bracket.
Torque: 80 lb.in (9 Nm)
-
Remove the bolts.
Torque: 80 lb.in (9 Nm)
-
Remove the nut and bracket.
.jpg) |
-
Disconnect the electrical connector and remove the subwoofer assembly.
.jpg) |
Vehicles equipped with Harmon® audio systems
-
Disconnect the subwoofer electrical connector.
.jpg) |
-
Position the subwoofer assembly to access rear connectors.
-
Remove the nut.
Torque: 80 lb.in (9 Nm)
-
Remove the bolts.
Torque: 80 lb.in (9 Nm)
-
Remove the nut.
.jpg) |
-
Disconnect the electrical connectors and remove the subwoofer assembly.
.jpg) |
All vehicles
-
Disconnect the antenna cable connector.
.jpg) |
-
Disconnect the antenna cable connector.
.jpg) |
-
Disconnect the antenna cable connector abd separate the wiring guides.
.jpg) |
Installation
NOTE: The original equipment cellular antenna coaxial cable is part of the wiring harness and cannot be removed. This procedure refers to replacement of the cellular antenna coaxial cable by overlaying existing body harness with a new cellular antenna coaxial cable and securing it to the wiring harness.
-
Cut the end off the existing cable.
.jpg) |
-
Cut the end off the existing cable.
.jpg) |
-
Overlay the new cellular antenna coaxial cable on the
vehicle wiring harness following the routing shown. Secure the new
cellular antenna coaxial cable to the wiring harness with tape or zip
ties as necessary.
.jpg) |
-
To install, reverse the removal procedure.
 Removal and Installation - Automotive Audio Bus (AAB) Cable
Removal
NOTE:
Removal steps in this procedure may contain installation details.
NOTE:
The original equipment AAB
cable is part of the wiring harness and cannot be removed...
 Removal and Installation - D-Pillar Speaker
Removal
NOTE:
Removal steps in this procedure may contain installation details.
Remove the upper D-pillar trim panel.
Refer to: D-Pillar Trim Panel (501-05 Interior Trim and Ornamentation, Removal and Installation)...
Other information:
Lincoln Aviator 2020-2026 Service Manual: Removal and Installation - Charge Port - Plug-In Hybrid Electric Vehicle (PHEV)
Removal NOTE: Removal steps in this procedure may contain installation details. WARNING: Before beginning any service procedure in this section, refer to Safety Warnings in section 100-00 General Information. Failure to follow this instruction may result in serious personal injury...
Lincoln Aviator 2020-2026 Service Manual: Description and Operation - Rear Climate Control - Component Location
..
Categories
- Manuals Home
- Lincoln Aviator Owners Manual
- Lincoln Aviator Service Manual
- Wireless Accessory Charger (If Equipped)
- Drive Modes
- Body and Paint
- New on site
- Most important about car
Activating Intelligent Access
The intelligent access key must be within 3 ft (1 m) of the door or luggage compartment you intend to lock or unlock.
At a Door
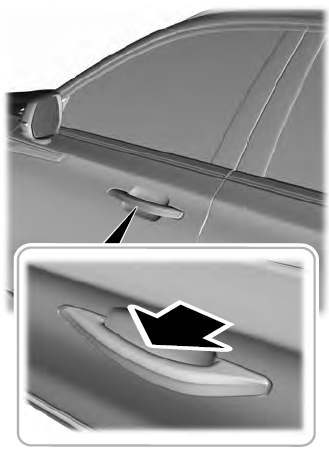
Electronic door handles are on each door. Gently depress the switch inside the exterior door handle to unlock and open the door. An unlock symbol illuminates on the door window trim indicating your vehicle is unlocked.

