Lincoln Aviator 2020-2026 Owners Manual / Cruise Control / Switching Cruise Control On and Off
Lincoln Aviator: Cruise Control / Switching Cruise Control On and Off
WARNING: Do not use cruise control on winding roads, in heavy traffic or when the road surface is slippery. This could result in loss of vehicle control, serious injury or death.
The cruise controls are on the steering wheel.
Switching Cruise Control On
 Press the button to put the
system
in standby mode.
Switching Cruise Control Off
 Press the button when in standby
mode or switch the ignition off.
Note: When you switch cruise control off the set speed clears.
 Cruise Control
What Is Cruise Control
Cruise control lets you maintain a set speed
without keeping your foot on the accelerator
pedal.
Requirements
Use cruise control when the vehicle speed
is greater than 20 mph (30 km/h)...
 Setting the Cruise Control Speed
WARNING: When you are going
downhill, your vehicle speed could
increase above the set speed. The system
does not apply the brakes.
Drive to the speed you prefer...
Other information:
Lincoln Aviator 2020-2026 Service Manual: Removal and Installation - Vacuum Pump
Special Tool(s) / General Equipment Plastic Scraper Materials Name Specification Motorcraft® High Performance Engine RTV SiliconeTA-357 WSE-M4G323-A6 Motorcraft® Silicone Gasket RemoverZC-30-A - Motorcraft® Metal Surface Prep WipesZC-31-B - Motorcraft® Metal Brake Parts CleanerPM-4-A, PM-4-B - Removal NOTICE: During engine repair procedures, cleanliness is extremely important...
Lincoln Aviator 2020-2026 Owners Manual: Auto Air Refresh Indicators (If Equipped)
The indicator area is on the touchscreen feature bar and displays one of the following: Indicates blower motor is on for filtering and PM2.5 is low. Indicates the blower motor is on for filtering. Indicates the blower motor is off. Indicates the status is not available...
Categories
- Manuals Home
- Lincoln Aviator Owners Manual
- Lincoln Aviator Service Manual
- Description and Operation - Body and Frame
- Garage Door Opener
- Wireless Accessory Charger (If Equipped)
- New on site
- Most important about car
Locking and Unlocking the Doors from Inside

Locking the Doors
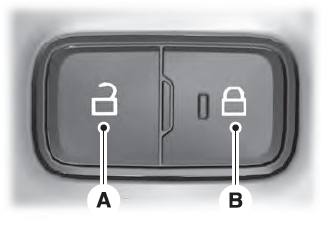
Press the lock switch on the door interior trim panel. The doors can no longer be released using the exterior door handle switches and the luggage compartment locks.
Copyright © 2026 www.liaviator2.com
