Lincoln Aviator 2020-2026 Service Manual / Body and Paint / Body and Paint / Handles, Locks, Latches and Entry Systems / Removal and Installation - Front Door Lock Control Switch
Lincoln Aviator: Handles, Locks, Latches and Entry Systems / Removal and Installation - Front Door Lock Control Switch
Special Tool(s) / General Equipment
| Interior Trim Remover |
Removal
NOTE: LH (left-hand) side shown, RH (right-hand) side similar.
-
Remove the driver door window control switch and bezel as an assembly.
-
Release the clips.
Use the General Equipment: Interior Trim Remover
-
Disconnect the driver door window control switch electrical connector.
-
Disconnect the front door lock control switch
electrical connector and remove the driver door window control switch
and bezel as an assembly.
-
Release the clips.
.jpg) |
-
NOTE: This step is only necessary when installing a new component.
Remove the front door lock control switch.
-
Release the retaining clips.
-
Remove the front door lock control switch from the bezel assembly..
-
Release the retaining clips.
.jpg) |
Installation
-
To install, reverse the removal procedure.
 Removal and Installation - Front Door Latch Emergency Release Handle
Removal
Remove the front door trim panel.
Refer to: Front Door Trim Panel (501-05 Interior Trim and Ornamentation, Removal and Installation)...
 Removal and Installation - Fuel Filler Door Latch
Removal
Remove the fuel filler door assembly.
Refer to: Fuel Filler Door Assembly (501-03 Body Closures, Removal and Installation).
Remove the fuel filler door latch...
Other information:
Lincoln Aviator 2020-2026 Service Manual: Removal and Installation - Liftgate Latch
Removal NOTE: Removal steps in this procedure may contain installation details. Remove the liftgate trim panel. Refer to: Liftgate Trim Panel (501-05 Interior Trim and Ornamentation, Removal and Installation). Remove the liftgate latch bolts...
Lincoln Aviator 2020-2026 Service Manual: Removal and Installation - Sunload Sensor
Special Tool(s) / General Equipment Interior Trim Remover Removal Remove the sunload sensor from the instrument panel. Disconnect the electrical connector. Use the General Equipment: Interior Trim Remover Installation To install, reverse the removal procedure...
Categories
- Manuals Home
- Lincoln Aviator Owners Manual
- Lincoln Aviator Service Manual
- Remove and Reinstall the Battery
- Fuel Quality
- Body and Paint
- New on site
- Most important about car
Locking and Unlocking the Doors from Inside

Locking the Doors
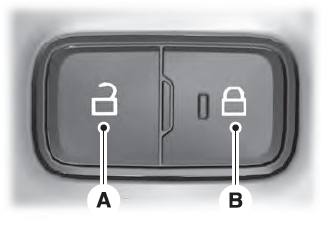
Press the lock switch on the door interior trim panel. The doors can no longer be released using the exterior door handle switches and the luggage compartment locks.
Copyright © 2026 www.liaviator2.com
