Lincoln Aviator 2020-2026 Service Manual / Body and Paint / Body and Paint / Exterior Trim and Ornamentation / Removal and Installation - Rear Door Upper Moulding
Lincoln Aviator: Exterior Trim and Ornamentation / Removal and Installation - Rear Door Upper Moulding
Removal
NOTE: Removal steps in this procedure may contain installation details.
NOTE: LH side shown, RH side similar.
-
Remove the upper belt moulding screw at front of the door.
Torque: 12 lb.in (1.3 Nm)
.jpg) |
-
Lift the moulding at the front edge using a non-marring
trim tool and slide forward to disengage from the tab at the rear and
remove the moulding.
Torque: 12 lb.in (1.3 Nm)
.jpg) |
-
Pull the rear door glass runner.
.jpg) |
-
Remove the screw.
Torque: 12 lb.in (1.3 Nm)
.jpg) |
-
Remove the screw.
Torque: 12 lb.in (1.3 Nm)
.jpg) |
-
-
Remove the retainer clips and dislodge the 4 way clip.
-
Remove the rear door upper moulding.
-
Remove the retainer clips and dislodge the 4 way clip.
.jpg) |
Installation
-
To install, reverse the removal procedure.
 Removal and Installation - Rear Door Moulding
Removal
NOTE:
Removal steps in this procedure may contain installation details.
NOTE:
LH side door shown, RH side door similar.
NOTE:
Do not use excessive force when removing retainers, to avoid damage to moulding...
 Removal and Installation - Rear Quarter Panel Moulding
Removal
NOTE:
Removal steps in this procedure may contain installation details.
NOTE:
LH side shown, RH side similar.
Remove the screws...
Other information:
Lincoln Aviator 2020-2026 Service Manual: General Procedures - Air Conditioning (A/C) Odor Treatment - Vehicles With: R1234YF Refrigerant
Special Tool(s) / General Equipment A/C Odor Remover Flexible Applicator Materials Name Specification Motorcraft® A/C Cooling Coil CoatingYN-29 - Inspection NOTE: There are typically 4 types of objectionable odors found in a vehicle: chemical odors environmental odors human and other interior-generated odors microbiological odors Before determining that A/C odor treatment is required, determine the source and the circumstances under which the odor occurs...
Lincoln Aviator 2020-2026 Service Manual: Removal and Installation - Rear Air Distribution Door Actuator
Removal NOTE: Removal steps in this procedure may contain installation details. Remove the RH loadspace trim panel. Refer to: Loadspace Trim Panel (501-05 Interior Trim and Ornamentation, Removal and Installation). Disconnect the electrical connector, remove the retainers and the rear air distribution door actuator...
Categories
- Manuals Home
- Lincoln Aviator Owners Manual
- Lincoln Aviator Service Manual
- Keyless Entry
- Configuring The Head Up Display
- Body and Paint
- New on site
- Most important about car
Remote Control
Passive Key

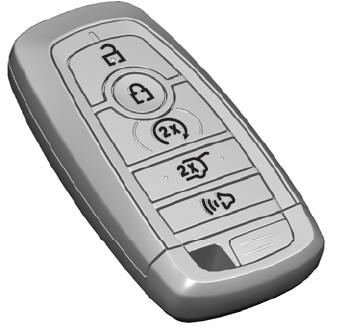
The passive key operates the power locks and the remote start system. The passive key must be in your vehicle to use the push button start.
Note: You may not be able to shift out of park (P) unless the passive key is inside your vehicle.
Copyright © 2026 www.liaviator2.com
