Lincoln Aviator 2020-2026 Service Manual / Body and Paint / Body and Paint / Exterior Trim and Ornamentation / Removal and Installation - Liftgate Moulding
Lincoln Aviator: Exterior Trim and Ornamentation / Removal and Installation - Liftgate Moulding
Removal and Installation
-
Refer to: Reversing Lamp (417-01 Exterior Lighting, Removal and Installation).
 Removal and Installation - Front Fender Moulding
Removal
NOTE:
Removal steps in this procedure may contain installation details.
NOTE:
LH side shown, RH side similar.
Remove the screws...
 Removal and Installation - Rear Door Moulding
Removal
NOTE:
Removal steps in this procedure may contain installation details.
NOTE:
LH side door shown, RH side door similar.
NOTE:
Do not use excessive force when removing retainers, to avoid damage to moulding...
Other information:
Lincoln Aviator 2020-2026 Service Manual: Removal and Installation - Cabin Heater Coolant Diverter Valve
Special Tool(s) / General Equipment Hose Clamp(s) Hose Clamp Remover/Installer Fluid Container Removal NOTE: Removal steps in this procedure may contain installation details. Drain the cooling system. Refer to: Engine Cooling System Draining, Vacuum Filling and Bleeding (303-03A Engine Cooling - 3...
Lincoln Aviator 2020-2026 Service Manual: Removal and Installation - Wheel and Tire
Materials Name Specification Motorcraft® High Temperature Nickel Anti-Seize LubricantXL-2 - Motorcraft® Wheel and Tire CleanerZC-37-A - Removal With the vehicle in NEUTRAL, position it on a hoist. Refer to: Jacking and Lifting (100-02 Jacking and Lifting, Description and Operation)...
Categories
- Manuals Home
- Lincoln Aviator Owners Manual
- Lincoln Aviator Service Manual
- Description and Operation - Body and Frame
- Tire Change Procedure
- Changing the Front Wiper Blades - Vehicles With: Heated Wiper Blades
- New on site
- Most important about car
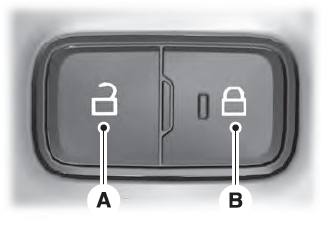
Locking and Unlocking the Doors from Inside

Locking the Doors
Press the lock switch on the door interior trim panel. The doors can no longer be released using the exterior door handle switches and the luggage compartment locks.
Copyright © 2026 www.liaviator2.com
