Lincoln Aviator 2020-2026 Service Manual / Chassis / Driveline / Front Drive Axle/Differential / General Procedures - Differential Draining and Filling
Lincoln Aviator: Front Drive Axle/Differential / General Procedures - Differential Draining and Filling
Materials
| Name | Specification |
|---|---|
| Motorcraft® SAE 75W-140 Synthetic Rear Axle Lubricant XY-75W140-QL |
WSL-M2C192-A |
Draining
-
With the vehicle in NEUTRAL, position it on a hoist.
Refer to: Jacking and Lifting (100-02 Jacking and Lifting, Description and Operation).
-
Remove the engine undershield.
-
Remove the pin-type retainer.
-
Remove the bolts and the radiator air deflector.
-
Remove the bolts.
-
Remove the retainers and the engine undershield.
-
Remove the pin-type retainer.
.jpg) |
-
Remove the front differential fill plug.
.jpg) |
-
Remove the front differential drain plug..jpg) WARNING:
Be prepared to collect escaping fluids.
WARNING:
Be prepared to collect escaping fluids.
.jpg) |
Filling
-
Install the front differential drain plug.
Torque: 30 lb.ft (40 Nm)
.jpg) |
-
Fill the front differential with clean gear lubricant.
Refer to: Specifications (205-03 Front Drive Axle/Differential, Specifications).
Material: Motorcraft® SAE 75W-140 Synthetic Rear Axle Lubricant / XY-75W140-QL (WSL-M2C192-A)
.jpg) |
-
Ensure the front differential gear lubricant is filled to the bottom of the filler plug hole.
.jpg) |
-
Install the front differential fill plug.
Torque: 30 lb.ft (40 Nm)
.jpg) |
-
Install the engine undershield
-
Position the engine undershield and install the pin-type retainer.
-
Install the bolts.
-
Install the radiator air deflector and the bolts.
-
Install the radiator air deflector retainers.
-
Position the engine undershield and install the pin-type retainer.
.jpg) |
 Diagnosis and Testing - Front Drive Axle
Principles of Operation
Inspection and Verification
Verify the customer concern.
Visually inspect for obvious signs of mechanical or electrical damage...
 General Procedures - Differential Fluid Level Check
Materials
Name
Specification
Motorcraft® SAE 75W-140 Synthetic Rear Axle LubricantXY-75W140-QL
WSL-M2C192-A
Check
With the vehicle in NEUTRAL, position it on a hoist...
Other information:
Lincoln Aviator 2020-2026 Service Manual: Removal and Installation - High Voltage Low Current Fuse - Plug-In Hybrid Electric Vehicle (PHEV)
Removal WARNING: To prevent the risk of high-voltage shock, always follow precisely all warnings and service instructions, including instructions to depower the system. The high-voltage system utilizes approximately 450 volts DC, provided through high-voltage cables to its components and modules...
Lincoln Aviator 2020-2026 Owners Manual: Driving on Snow and Ice
WARNING: If you are driving in slippery conditions that require tire chains or cables, then it is critical that you drive cautiously. Keep speeds down, allow for longer stopping distances and avoid aggressive steering to reduce the chances of a loss of vehicle control which can lead to serious injury or death...
Categories
- Manuals Home
- Lincoln Aviator Owners Manual
- Lincoln Aviator Service Manual
- Keyless Entry
- Garage Door Opener
- Anti-Theft Alarm
- New on site
- Most important about car
Remote Control
Passive Key

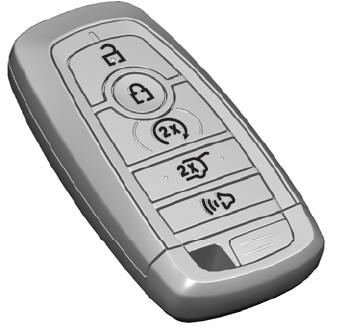
The passive key operates the power locks and the remote start system. The passive key must be in your vehicle to use the push button start.
Note: You may not be able to shift out of park (P) unless the passive key is inside your vehicle.
Copyright © 2026 www.liaviator2.com
