Lincoln Aviator: Intake Air Distribution and Filtering - 3.0L EcoBoost/3.0L EcoBoost – Hybrid (BQ) / Removal and Installation - Charge Air Cooler (CAC) Intake Pipe
Special Tool(s) /
General Equipment
| Hose Clamp Remover/Installer |
Removal
NOTICE:
The turbocharger compressor vanes can be damaged by even the
smallest particles. When removing any turbocharger or engine air intake
system component, ensure that no debris enters the system. Failure to
do so may result in damage to the turbocharger.
NOTE:
Removal steps in this procedure may contain installation details.
-
With the vehicle in NEUTRAL, position it on a hoist.
Refer to: Jacking and Lifting (100-02 Jacking and Lifting, Description and Operation).
Charge air cooler (CAC) intake pipe - Left side
-
Remove the air cleaner.
Refer to: Air Cleaner (303-12 Intake Air Distribution and Filtering - 3.0L EcoBoost/3.0L EcoBoost – Hybrid (BQ), Removal and Installation).
-
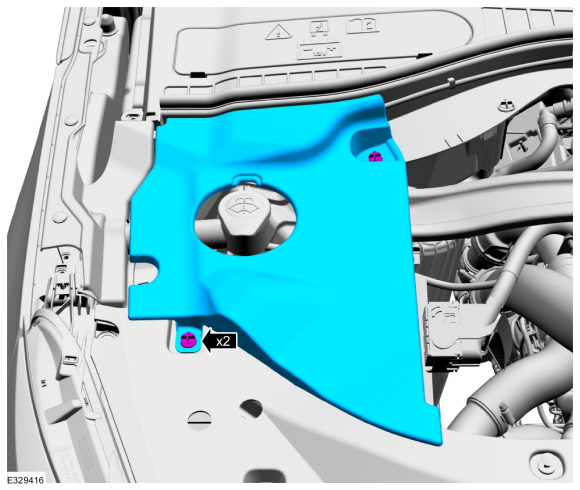
Remove the retainers and the RH engine compartment cover.
-
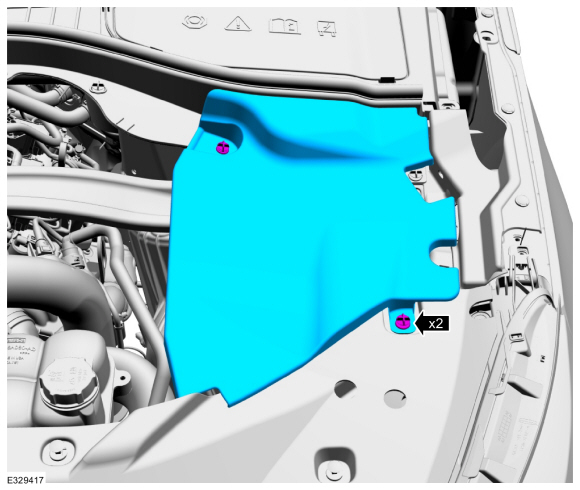
Remove the retainers and the LH engine compartment cover.
-
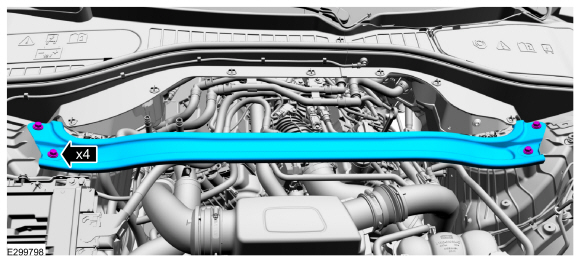
Remove the bolts and the suspension support bar.
Torque:
22 lb.ft (30 Nm)
-
-
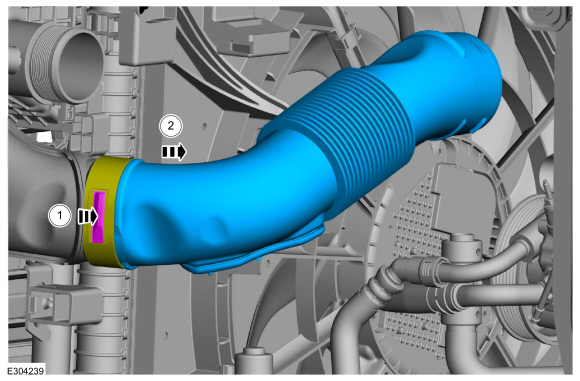
Depress the raised area of the pipe.
-
Remove the air cleaner inlet pipe.
-
-
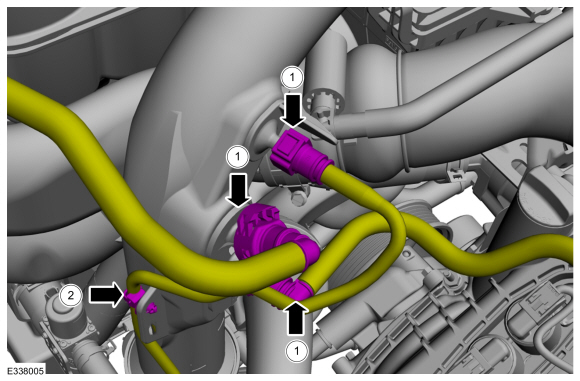
Remove the quick connectors.
Refer to: Quick Release Coupling (310-00A Fuel System - General Information - 3.0L EcoBoost, General Procedures).
-
Detach the clip and position the wire harness aside.
-
-
Remove the quick connectors and position the tubes aside.
Refer to: Quick Release Coupling (310-00A Fuel System - General Information - 3.0L EcoBoost, General Procedures).
-
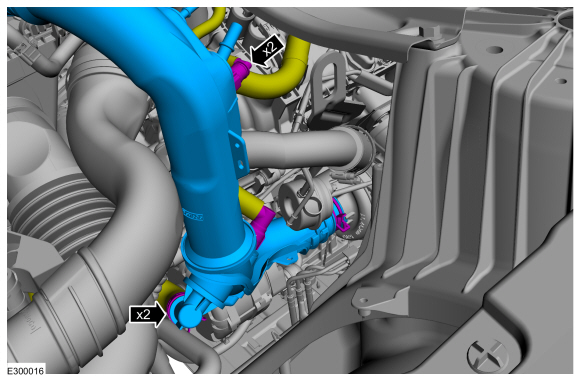
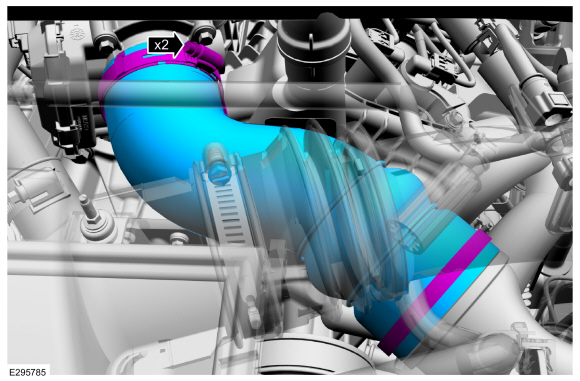
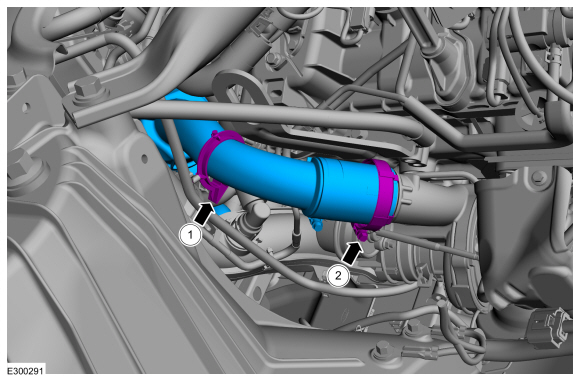
Release the clamps and remove the pipe.
Use the General Equipment: Hose Clamp Remover/Installer
-
Detach the retainer clip and position the wiring harness aside.
-
Loosen the clamps, then remove the charge air cooler outlet pipe
Torque:
48 lb.in (5.4 Nm)
-
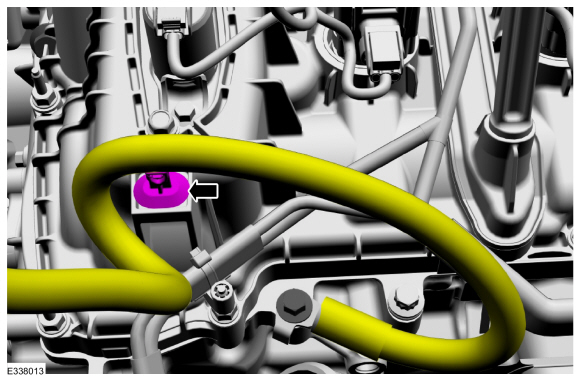
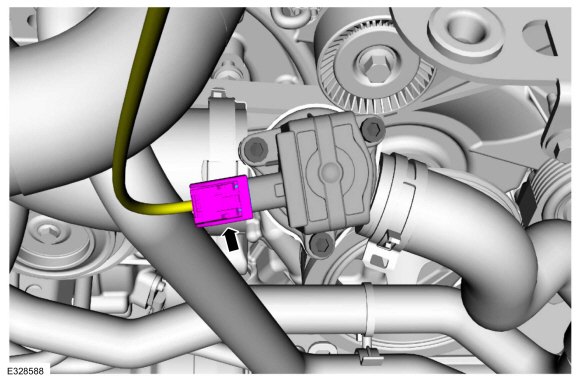
Disconnect the turbocharger bypass valve electrical connector.
-
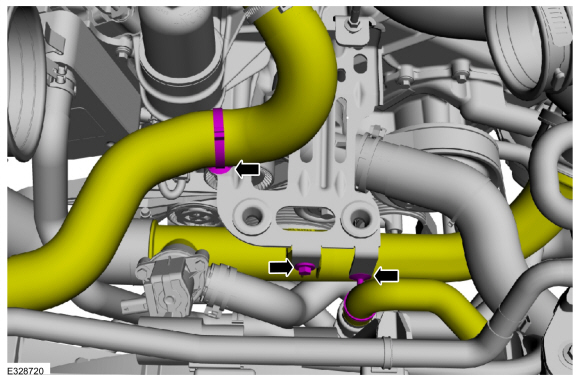
Detach the hose retainers, remove the bolt and separate the LH CAC intake pipe from the bracket.
Torque:
93 lb.in (10.5 Nm)
-
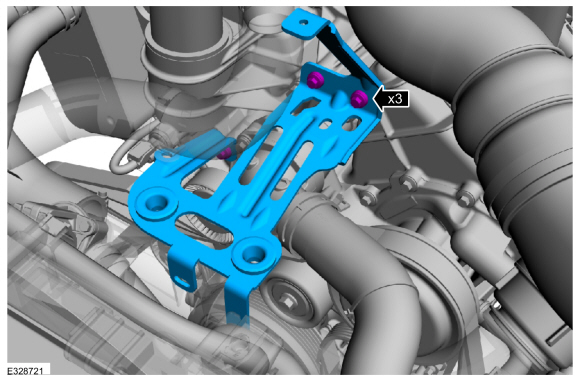
Remove the bolts and the bracket.
Torque:
93 lb.in (10.5 Nm)
-
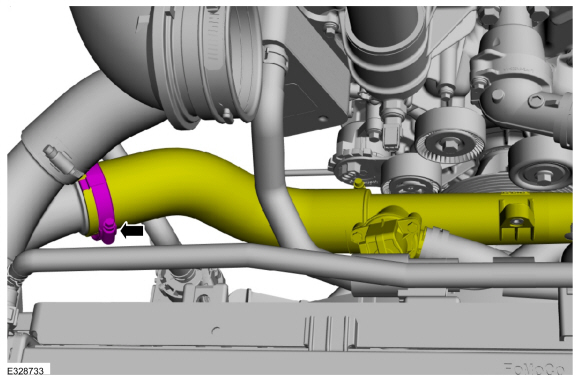
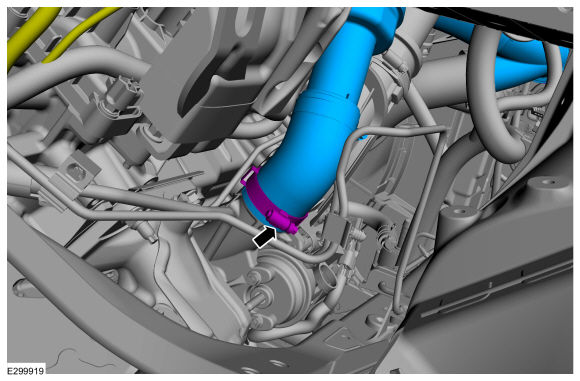
Loosen the clamp and position the LH CAC intake pipe aside.
Torque:
48 lb.in (5.4 Nm)
-
-
Remove the clamp.
-
Loosen the clamp and remove the LH CAC intake pipe from the turbocharger.
Torque:
48 lb.in (5.4 Nm)
Charge air cooler (CAC) intake pipe - Right side
-
Remove the air cleaner outlet pipe RH.
Refer to: Air Cleaner Outlet Pipe RH (303-12 Intake Air Distribution and Filtering - 3.0L EcoBoost/3.0L EcoBoost – Hybrid (BQ), Removal and Installation).
-
NOTE:
If not replacing the RH charge air cooler (CAC ) intake pipe no need to remove the part.
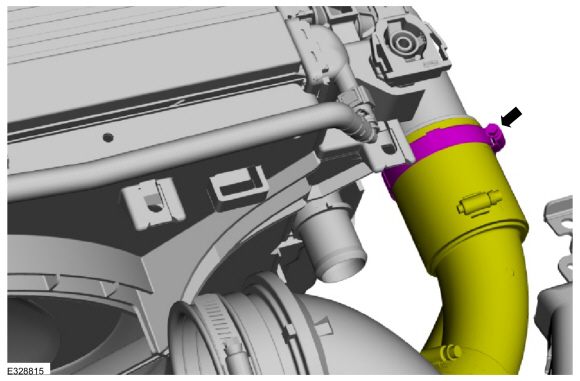
Loosen the clamp and position the RH CAC intake pipe aside.
Torque:
48 lb.in (5.4 Nm)
-
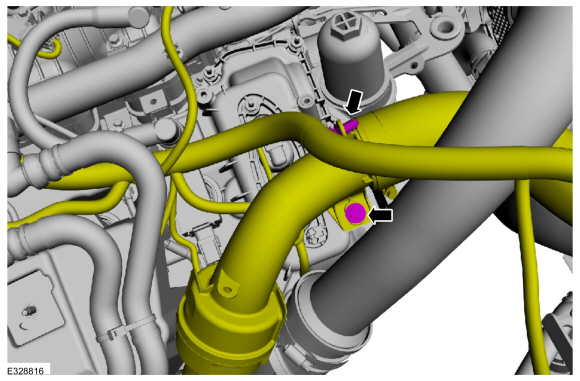
Remove the bolt and detach the wiring harness retainer.
Torque:
106 lb.in (12 Nm)
-
Loosen the clamp and remove the RH CAC intake pipe.
Torque:
48 lb.in (5.4 Nm)
Installation
-
Inspect the turbocharger or engine air intake system components and clean, if necessary.
-
To install, reverse the removal procedure.
Removal
NOTICE:
The turbocharger compressor vanes can be damaged by even the
smallest particles. When removing any turbocharger or engine air intake
system component, ensure that no debris enters the system...
Removal
NOTICE:
The turbocharger compressor vanes can be damaged by even the
smallest particles. When removing any turbocharger or engine air intake
system component, ensure that no debris enters the system...
Other information:
Diagnostic Trouble Code (DTC) Chart
Diagnostics in this manual assume a certain skill level and knowledge of Ford-specific diagnostic practices. REFER to: Diagnostic Methods (100-00 General Information, Description and Operation).
Diagnostic Trouble Code Chart
Module
DTC
Description
Action
BCM
B10F3:11
Left Front Position Light:Circuit Short to Ground
GO to Pinpoint Test D
BCM
B10F3:15
Left Front Position Light:Circuit Short to Battery or Open
GO to Pinpoint Test D
BCM
B10F4:11
Right Front Position Light:Circuit Short to Ground
GO to Pinpoint Test D
BCM
B10F4:15
Right Front Position Light:Circuit Short to Battery or Open
GO to Pinpoint Test D
BCM
B1445:11
Rear Park Lamps Output:Circuit Short to Ground
GO to Pinpoint Test D
BCM
B1445:15
Rear Park Lamps Output:Circuit Short to Battery or Open
GO to Pinpoint Test D
BCM
B149E:11
Left Front Position/Sidemarker:Circuit Short To Ground
GO to Pinpoint Test D
BCM
B149E:15
Left Front Position/Sidemarker:Circuit Short To Battery or Open
GO to Pinpoint Test D
BCM
B149F:11
Right Front Position/Sidemarker:Circuit Short To Ground
GO to Pinpoint Test D
BCM
B149F:15
Right Front Position/Sidemarker:Circuit Short To Battery or Open
GO to Pinpoint Test D
BCM
B14A2:11
Tailgate/Liftgate Applique Lamps:Circuit Short To Ground
GO to Pinpoint Test D
BCM
B14A2:15
Tailgate/Liftgate Applique Lamps:Circuit Short To Battery or Open
GO to Pinpoint Test D
BCM
B14B2:11
Left Position Lamps:Circuit Short To Ground
GO to Pinpoint Test D
BCM
B14B2:15
Left Position Lamps:Circuit Short To Battery or Open
GO to Pinpoint Test D
BCM
B14B3:11
Right Position Lamps:Circuit Short To Ground
GO to Pinpoint Test D
BCM
B14B3:15
Right Position Lamps:Circuit Short To Battery or Open
GO to Pinpoint Test D
BCM
B14E4:01
Extra Enhanced Exterior Lighting System:General Electrical Failure
GO to Pinpoint Test E
BCM
B14E4:08
Extra Enhanced Exterior Lighting System:Bus Signal / Message Failure
GO to Pinpoint Test E
BCM
B14E4:1C
Extra Enhanced Exterior Lighting System:Circuit Voltage Out of Range
GO to Pinpoint Test E
BCM
B14E4:49
Extra Enhanced Exterior Lighting System:Internal Electronic Failure
GO to Pinpoint Test E
BCM
B14E4:55
Extra Enhanced Exterior Lighting System:Not Configured
GO to Pinpoint Test E
BCM
B14E4:61
Extra Enhanced Exterior Lighting System:Signal Calculation Failure
GO to Pinpoint Test E
Symptom Charts
Symptom Chart: Parking, Rear and License Plate Lamps
Diagnostics in this manual assume a certain skill level and knowledge of Ford-specific diagnostic practices...
Special Tool(s) /
General Equipment
Fluid Exchanger
Materials
Name
Specification
Motorcraft® MERCON® ULV Automatic Transmission FluidXT-12-QULV
WSS-M2C949-A, MERCON® ULV
Connect
NOTICE:
Use transmission fluid specific for this transmission...

 Removal and Installation - Charge Air Cooler (CAC)
 Removal and Installation - Charge Air Cooler (CAC) Outlet Pipe